For those of you who are still here (both of you!), be sure to update your feed readers and bookmarks, as I’ll be moving from this URL to adventuresinwoodworking.wordpress.com next month.
Thanks!

pulling the plug
For those of you who are still here (both of you!), be sure to update your feed readers and bookmarks, as I’ll be moving from this URL to adventuresinwoodworking.wordpress.com next month.
Thanks!
Hi Eric, thanks for agreeing to this interview. I know you don’t accept many interview requests.
Thanks. Yeah, this is the first interview I’ve given since starting my blog five years ago. Adds to the mystique, you know?
Umm, yeah. Anyway, so what have you been up to lately? Your blog has been kind of dormant.
Well I spent a few months in the States last winter, and got to take a couple woodworking classes. I went to an intro carving class at Woodcraft, and bought a couple gouges so I could try carving when I returned to Malaysia. But the highlight was attending Roy Underhill’s “Making the Mystery Mallet” class at his Woodwright’s Shop.
Do you have any pics?
Glad you asked! Here’s one:

Nice mallet!
Yeah, I’m just happy mine didn’t blow out on me when I put it all together. I was pretty nervous as it was labeled as an “intermediate” class. But even if it did (blow apart), I took the class for the experience more than for the mallet.
So what else is new? You’ve been back in Malaysia for several months now. What have you been building?
Not too much. Now that my workbench is done, it’s been strangely hard to motivate myself to get some shop time in! Maybe it’s just that the workbench consumed me pretty much for several years, and I feel a bit aimless now. But I have bought the stock to make my daughter a loft bed, and have slowly gotten the gears turning on that project.
So we’ll be seeing a lot more activity on this blog now?
I don’t think so. It’s been a good run here, but I think I’ll probably blog much less frequently, even if I do a lot of woodworking. I’ll probably let my domain name go and just keep this blog open at adventuresinwoodworking.wordpress.com. And I’ll keep posting on Lumberjocks if I have new projects or pics.
Great! Good luck to you.
Thanks!
Kinda fun, from WordPress, an annual report for this little ol’ blog. I think that biggest rocket on the right is the post of my finished workbench!

Here’s an excerpt:
The concert hall at the Syndey Opera House holds 2,700 people. This blog was viewed about 49,000 times in 2011. If it were a concert at Sydney Opera House, it would take about 18 sold-out performances for that many people to see it.
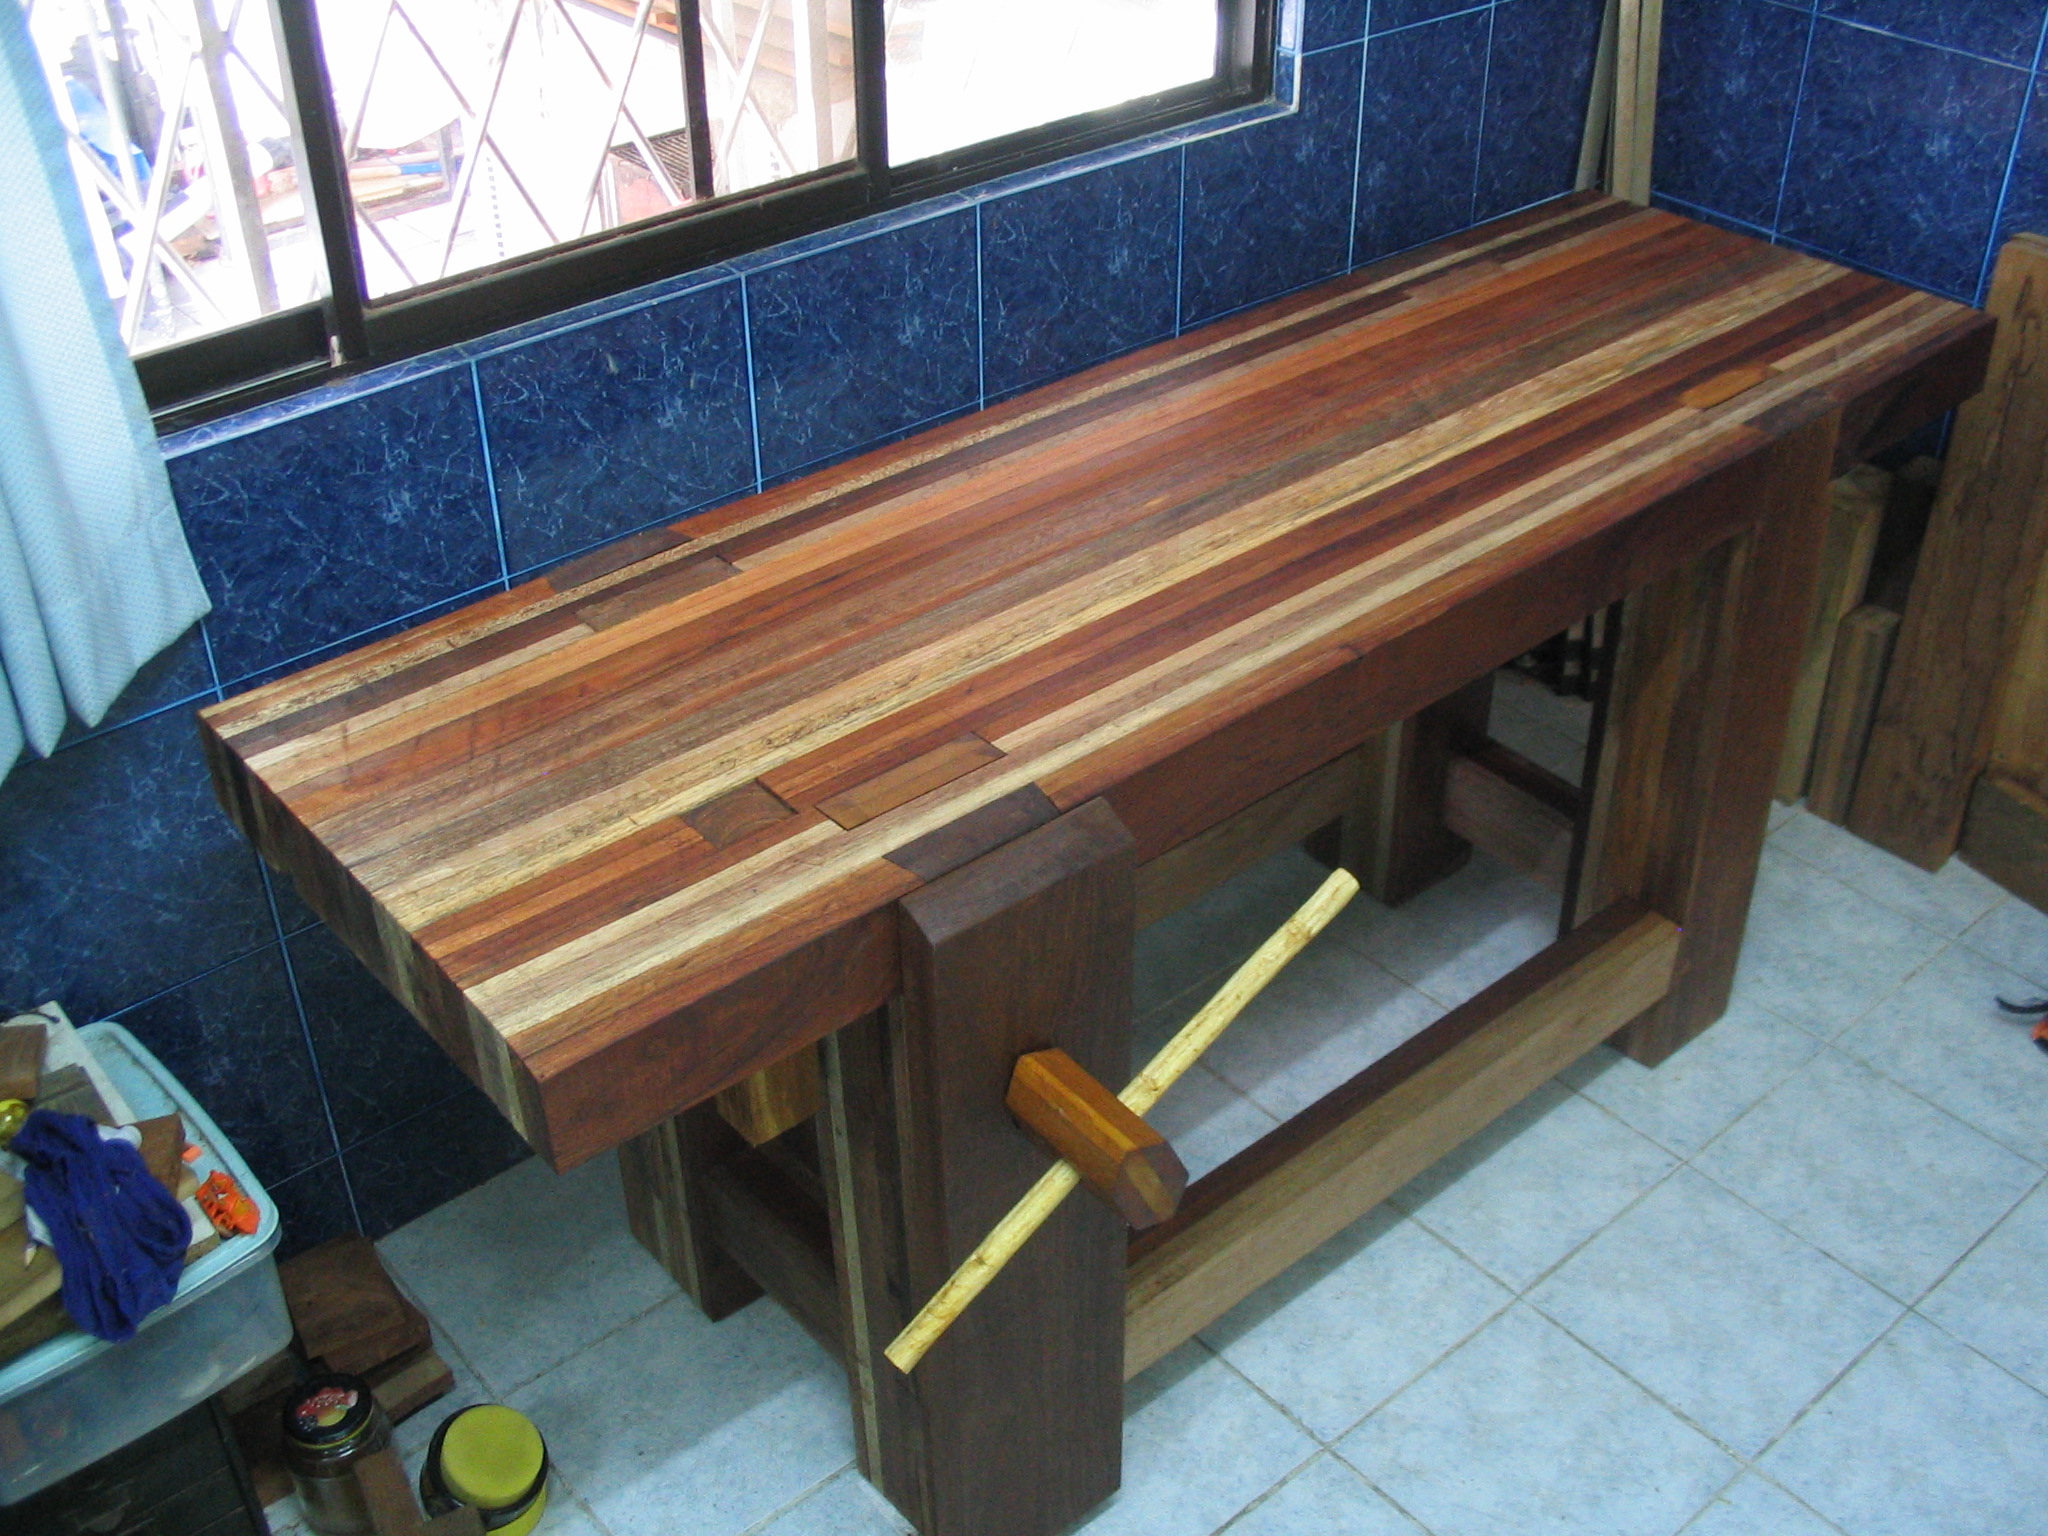
I’m happy to announce the completion of my workbench! I call it the “Reject Roubo” as it was constructed almost entirely out of reject lumber that was given to me by a church friend whose husband runs a timber export business. I bought the big wooden screw for the leg vise ($10), and the glue, and that’s pretty much it.
This workbench was a LOOOOOONG time in coming. Seriously. Looking back on my blog, here are some real quick highlights:
December 2007: I purchase my first bunch of boards for what the top of what I believe was to be a Roubo-style workbench. I never finished prepping these 16 boards.
May 2009: Now in a different home, I start pondering afresh how I’d build my Roubo workbench.
June 2010: I receive free lumber and have no excuse!
May 2011: I declare the bench completed (as in entirely assembled), and stated that within the week I expected to complete the flattening of the benchtop.
September 2011: I request a kick in the pants.
October 2011: I finally get going, and indeed, finish the bench in virtually no time.
So that is about 4 years from start to finish. About a year and a half on this current iteration. But it’s done. Pics!


Still waiting on my oil to entirely dry.
Meanwhile, I thought I would fix something that I knew would bug me all the time. My big honkin’ wooden vise jaw is too massive for the few inches of threading in the big wooden nut in the leg vise, and as a result the big wooden screw tilts downwards towards the jaw. See look: here in the very back of the leg you can see the nut:

The nut is actually not glued into the leg at all; it’s merely held in place by those blocks that are screwed into the leg. So anyway, you can see that there are only a few inches of thread, and I suppose that’s why the screw does not remain perfectly horizontal. So I had in mind to glue a handmade wooden washer in the front of the leg’s vise hole to give some support to the screw. My brilliant wife said, “Why do a whole washer? Why not just glue little bits on the bottom since that’s where the support is needed?” She gets it, folks!
So that’s what I did. First step, cut out some little wedges that fit in my screw’s thread and that are rounded to fit in the vise hole:

I decided to go with two wedges. I asked my wife to name this type of piece, since it was her idea, and she named it a sham. Works for me. I figured out the correct distance between the wedges, and with some creative weighting, I glued the two shams in place:

And voila! my big wooden screw definitely is receiving much more support and is much more horizontal when in use.

It’s amazing how close I was to being done the past several months. If you go back and look at my archives (don’t worry about it, I’m about to sum up), I didn’t make ANY progress from May to October because I dreaded the flattening and leveling that I needed to do. Once I got over that hump, I made ginormous strides in no time.
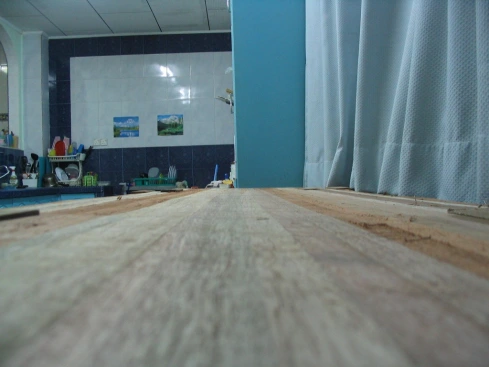
Since my last blog post when I called the bench level (enough), I have flattened it (enough) and planed/sawed the horns off the leg tenons. That was no joke! Last night I got the planing stop done and I bored the hole in the leg vise for the screw. Also no joke:

And you know what I did today? I put my first coat of BLO on it. My bench is literally finished. I still have all the parts (leg vise, planing stop, etc.) separated so it’s not assembled. But tomorrow I will have a fully-functioning workbench.
Final pics to come, but here are a couple of pics from this afternoon:


Phase 1 is complete. The bench is mostly flat, and is mostly level. I could talk about the various parts of the top (and the bench in general) that aren’t great, but then I think,
“If I was reading the blog of some struggling woodworker who rarely gets shop time and builds a Roubo/Moxon workbench and then complains about the various imperfections of what is essentially just a ginormous wooden tool, I’d yell at him to shut up and be content and start making stuff!”
So I’m content. Enough. Next I’ll take my #7 plane over the whole thing and then comes the smoother.

Well the separate paths of motivation and free time finally merged today for a couple of hours, and I was able to get my jack plane out and get busy!

I am about 3/4 of the way through “Phase 1” which involves getting the whole top flattish. Then I’ll drop it back down (you may be able to see it’s “up on blocks” (literally) to keep the top clear of the leg tenons) and see how level it is. If it’s pretty close to level, then I’ll smooth it up! If it’s much off (it was almost 1/4″ high in some places!) then I’ll get back to work on “Phase 2” and reassess.
Hope to do some more tomorrow!
If the video doesn’t work right, click here.


Recent Comments